Tuesday, December 9, 2014
Thursday, December 4, 2014
Tuesday, November 25, 2014
Friday, October 31, 2014
Boss Fight Analysis
Main Mechanics (10-man Only):
- Boss starts at 50% health, the goal is to heal the boss back to full health while protecting her and the raid from enemies.
- Boss spawns Emerald Dream portals every 30 seconds. Emerald Dream portals send players to the Emerald Dream, where Emerald Vigor can be collected.
- Emerald Vigor: applies a stacking buff that increases mana regeneration and a 10% increase to damage and healing
[Healers are the only ones who should collect these]
- Enemies spawn from the flanking doorways:
- Blazing Skeleton: Does moderate AoE damage within a 50,000 yd radius every 2 seconds.
[All unassigned DPS should kill this enemy immediately!]
- Blistering Zombie: Applies a stacking armor debuff to target and Explodes, dealing heavy damage and applying a weak DoT within a 15 yd radius.
[One ranged DPS should be assigned to kite these]
Risen Archmage: Uses crowd control abilities against the raid, including spells that slow movement speed, toss players into the air, and burn mana. Deals heavy damage.
[Picked up by Tank and killed by Melee DPS]
- Gluttonous Abomination: Deals heavy AoE damage in an 8 yd frontal cone. On death, spawns 8 - 10 Rot Worms that deal moderate damage.
[Picked up by Tank and killed by Ranged DPS]
- Suppressor: Channels a spell that reduces healing done to Valithria by 10%
[Two DPS are assigned to focus solely on these]
- Enemy spawn rate increases steadily over the course of the encounter
- Enrage: Occurs after 7 minutes. Suppressors and Blazing Skeletons begin spawning continuously, guaranteeing a wipe.
Level layout lends itself to both 10 and 25 man game modes. With equal space on both sides of the boss for the raid to split up and spread itself out. Players are able to manage the incoming enemies from both sides of the boss in 25 man or just group up on one side of the boss for 10 man. Each side gives ample room for maneuvering around to dodge AoE and kite enemies. Flanking rooms provide distinct spawn locations for enemies, helping to cut down on confusion.
Thursday, October 30, 2014
Monday, October 27, 2014
Sunday, October 19, 2014
Beat Sheet Frames
Uploading my beat sheet frames here because google spreadsheets is terrible and won't accept images from google drive... You'd think they'd be compatible but nooo, that would be way too intuitive.
Saturday, October 11, 2014
Thursday, October 2, 2014
Friday, September 26, 2014
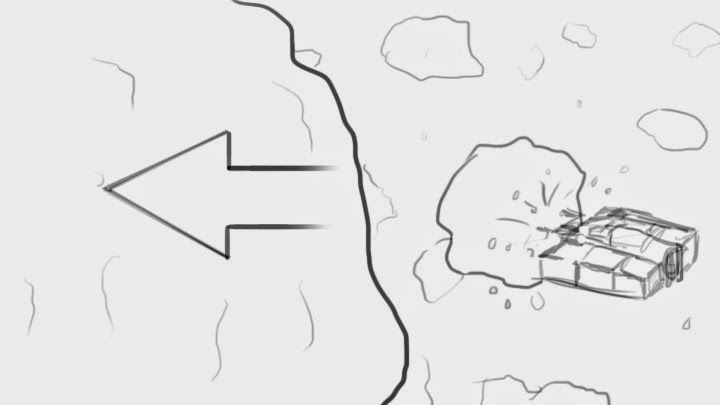
Ideas for Flight Game Mechanics
Weaponry
Destructible Environments
Pickup Powerups
Pickup and Place Resources
Short Range Teleport Boost
Health
Shields
Enemy Turrets
Overtake Enemy AI
Heat seeking missiles
Destructible Environments
Pickup Powerups
Pickup and Place Resources
Short Range Teleport Boost
Health
Shields
Enemy Turrets
Overtake Enemy AI
Heat seeking missiles
Friday, September 12, 2014
Monday, September 8, 2014
First Person Shooter Multiplayer Map Deconstruction
Halo 4 "Ragnarok": A new take on the classic "Valhalla" map.
On this map, each team has a spire that serves as their player and vehicle spawn point. Each spire comes equipped with a Mongoose, Warthog, Mantis, Ghost and Banshee; as well as a selection of weapons. The river provides an unrestricted route between the two bases with advantage of rocky outcroppings for cover. However, those same rocks can be a disadvantage if the player is caught in an attack from above. The north bank has a relatively sparse amount of cover but gives the player access to a turret installation with a unique vantage point. The southern bank provides a dense amount of cover including the remains of a crashed pelican dropship and short cave systems. This route allows for stealthier approaches. The map is separated into two halves to help facilitate an ease of communication between players, with the retaining wall and Pelican remains marking the middle.
Subscribe to:
Comments (Atom)


